
A Handy Guide to Hosting Guests During the Holidays

It’s that time of year again. A time for friends and family to come together to celebrate the holidays. Many of you will be hosting guests in your homes over the next two months and while you are surely delighted to spend time with your loved ones, it can be a stressful time as well. If you are opening your doors to family members or friends this holiday season, here are some ideas for prepping your home so that you’ll be ready to welcome them with open arms.
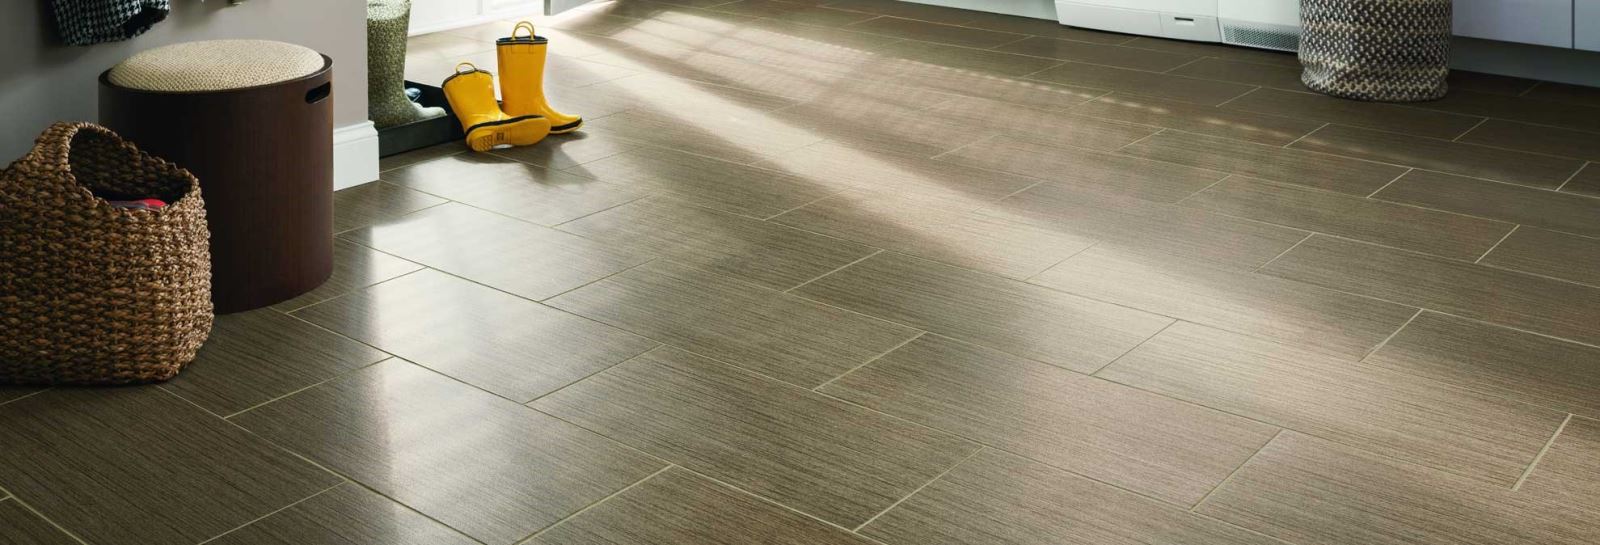
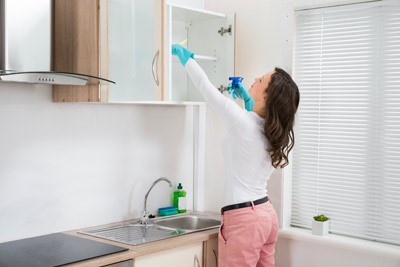
Tidy up the house. Use this as motivation to thoroughly clean your house. Get rid of clutter, make small house repairs and complete that decorating project you’ve been putting off.
Stock up on food and drinks. Make sure you have different types of beverages and snacks that your guests enjoy. It’s nice for them to be able to easily grab a quick snack whenever they want. Check with your guests to see if they have any food allergies or dietary needs so that you can provide safe and healthy choices for them.
Have activities planned for your guests. Depending on how long they are staying, you may want to plan some special events or activities for your guests. Whether it’s a shopping excursion, a day at a museum, a holiday concert or just a nice dinner out, your visitors will appreciate your thoughtfulness in keeping them entertained. Click here for a list of fun events happening in the Montgomery area this holiday season: Holiday Events
Be mindful of the little ones. If your guests include children, be sure to plan for them as well. If you don’t have children, you may want to pick up a game or some arts and crafts to have around for them. Find out their food preferences prior to their arrival so that you are prepared to accommodate them at meals.
Provide comfortable sleeping spaces. Be sure to have nice, clean sheets, pillows and extra blankets. If you have a guest bedroom that has not been used in a while, strip the bed and wash the bed linens so that they are fresh for your guests. 15 Tips for Turning Your Guest Bedroom into a Retreat
Provide toiletries. The guest bathroom should have soap/body wash, shampoo, conditioner and lotion available for guests.
Give instructions for electronics. If the guest room has a television, leave written instructions for how to use the remote.
By following these tips and prepping your home ahead of time, you will be able to offer a warm welcome to your guests and enjoy the time you have with them!
If you are in the market to sell or buy a home, let Sandra Nickel and her Hat Team of professionals assist you with all your real estate needs! Call them today at 334-834-1500!
Photo Credit: frugalandthriving.com.au