

Avoiding Foreclosure on Your Home
The possibility of losing your home to foreclosure is frightening. You likely feel a sense of helplessness and hopelessness. Not only do you have to worry about where you are going to live, but your future credit rating can be ruined as well. However, if you act quickly after getting a foreclosure notice, you can possibly avoid losing your home.
Here are some tips to help you deal with this crucial situation quickly and efficiently:
- If you can, pay the total amount past due on your loan. The lender would much rather have your money than your house, so this should prevent foreclosure if there are no mitigating circumstances. Of course, chances are that if you have received a foreclosure notice it is due to the fact that you don’t have the funds available to get current on your loan. But don’t despair…there are other options.
- If making your monthly mortgage payment is beyond your ability, you can attempt to modify the terms of your loan. Depending upon the circumstances, this could mean reducing your monthly payments or interest rate. You can seek guidance from your lender, or you may be eligible for the government assistance through the Homeowner Affordability and Sustainability Plan (HASP), which will allow you to restructure your mortgage. The purpose of HASP is to help people who owe more than their home is worth or have more debt on their home than income. Homeowner Affordability and Sustainability Plan
- While the goal is to keep your home, foreclosure may be unavoidable. You may want to consider attempting a short sale on your home. This requires permission from your lender. The purpose of the short sale is to sell the home for the amount of money needed to pay what you owe to your lender. If you can’t sell the home for the needed amount, you may be responsible for paying back the remaining balance of the loan. Short Sale
- As a last resort, you may want to consider declaring bankruptcy. It is a huge decision that should not be made lightly because it can have some harsh consequences. In addition, it may not allow to keep your home, so it is definitely risky. Filing bankruptcy means that all lenders and creditors you have are given a stay on your loans, meaning they cannot collect until your bankruptcy case is settled. However, this stay is temporary. If the foreclosure process has already been started by your lender, they will not be able to repossess your home until all issues have been worked out. You may be able to restructure your debts and create a payment plan that will allow you to keep your home, depending on the type of bankruptcy you file for. But there is also a chance that you might have to sell your home as part of the liquidation of your assets. It is vital that you speak to a financial advisor before going this route.
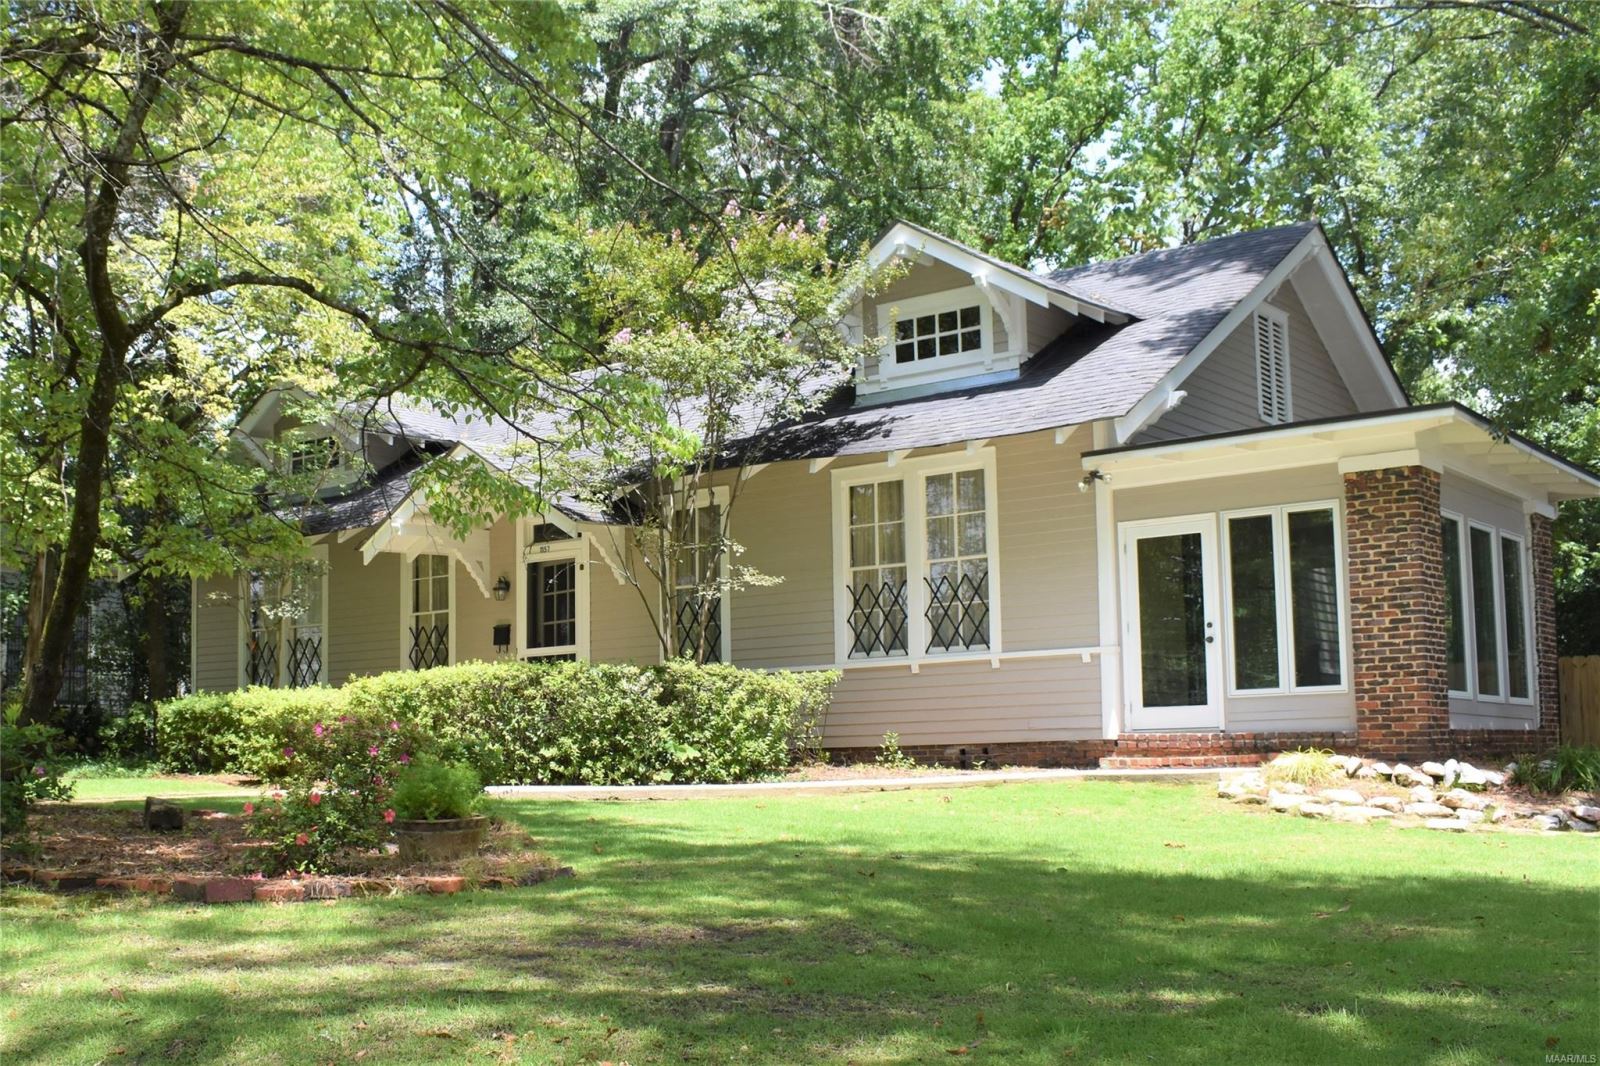
If you are in the market to buy or sell a home (or both), let Sandra Nickel and her Hat Team of Professionals assist you with all your real estate needs! Call them today at 334-834-1500 and check out https://www.homesforsaleinmontgomeryalabama.com for more information!
Photo Credits: facebook, fool.com, moveinphilly.com


.png)
.png) A $50 gallon of paint goes a long way when updating your home. Well-loved homes take a beating from kids and pets. Covering up scrapes and scratch marks on walls and woodwork will make your room feel brand new. Add an accent wall for a totally new look.
A $50 gallon of paint goes a long way when updating your home. Well-loved homes take a beating from kids and pets. Covering up scrapes and scratch marks on walls and woodwork will make your room feel brand new. Add an accent wall for a totally new look..jpg)

.jpg)