

Building a DIY Fire Pit
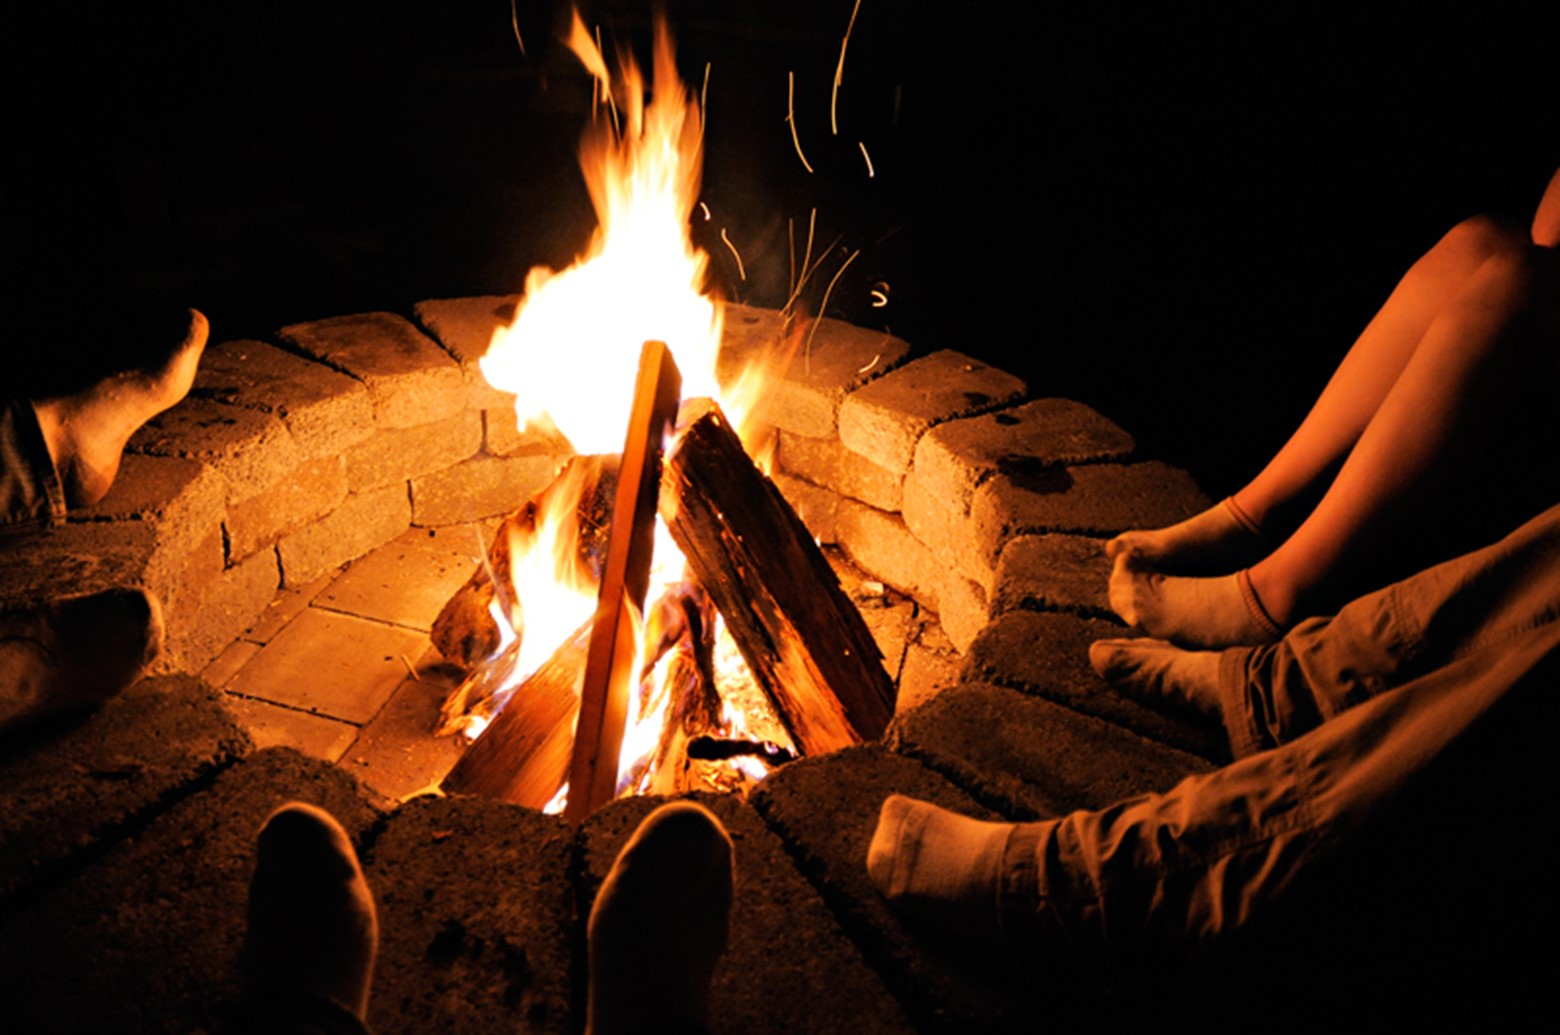
Spending time outdoors in the fall and winter months is not much fun if you are cold, but if you have a nice, warm fire to gather around, you can enjoy outdoor time despite cooler temperatures. It is fairly easy to build your own fire pit and it can be done in a short amount of time without breaking the bank. So, follow these steps and before you know it you will be toasting marshmallows around your own DIY fire pit!
Step 1: Go to a home improvement store and purchase your materials. Choose your large pavers first. They are not expensive and work perfectly as the ring for your fire pit. I recommend getting enough to make your fire pit deep and wide. Depending on the size of the pavers, you will need twelve or thirteen for each level of the pit. So, if you are doing three levels, you will need 36 to 39 pavers. You will also need smaller pavers for the floor of the fire pit, and paver sand for filling in the gaps and spaces. Paver Fire Pits 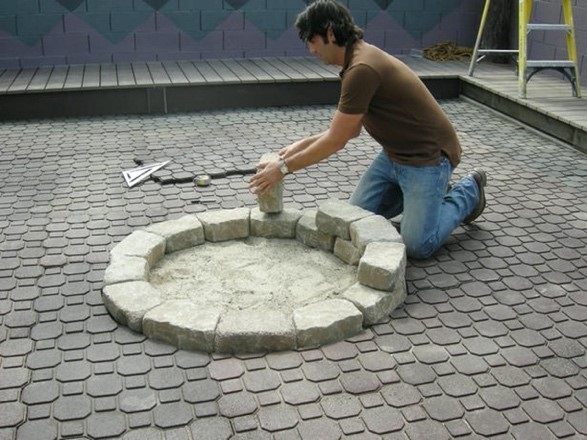
Step 2: When you get your materials home, choose the site for your fire pit and arrange the large pavers in a circle creating the diameter of your pit. Then arrange two additional levels on top of the base you have created. Be sure the gaps between pavers are as small as possible. You may have to adjust them several times before you get them just right.
Step 3: With the smaller pavers, build the floor of your fire pit. Make sure that they fill in the entire space. You may have to get some that are shaped differently to make them fit.
Step 4: Use paver sand to fill in the cracks and spaces in the floor. Fill in the spaces and then use a broom or your hands to spread it evenly across the floor.
Before you begin your project, check out these Do's and Don'ts of Building a Fire Pit.
Now you can build a roaring fire and enjoy your new fire pit!
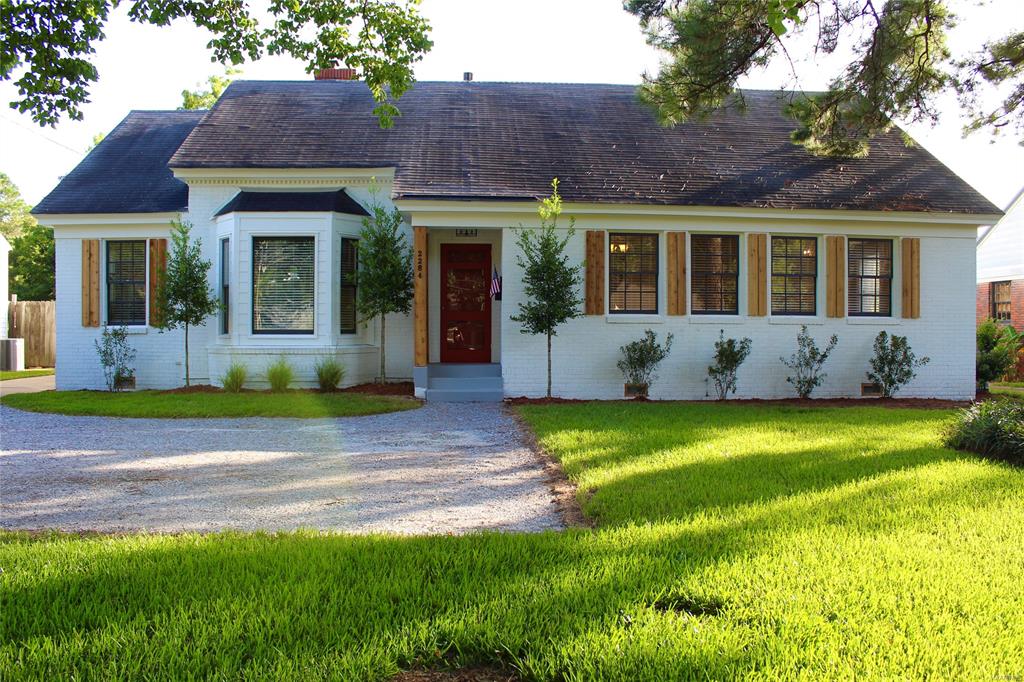
If you are in the market to buy or sell a home, let Sandra Nickel and her Hat Team of Professionals assist you with all your real estate needs! Call them today at 334-834-1500!
Photo credits; hgtv.com and dektile.com
.jpg) Goldenrod: This low maintenance beauty has been erroneously blamed for causing hay-fever. The real culprit is rag weed. The pollen in goldenrod is too heavy to fly in the air. Instead, it sticks to the legs of the butterflies and insects that feed on its nectar. It blooms late in the season and is deer and drought resistant.
Goldenrod: This low maintenance beauty has been erroneously blamed for causing hay-fever. The real culprit is rag weed. The pollen in goldenrod is too heavy to fly in the air. Instead, it sticks to the legs of the butterflies and insects that feed on its nectar. It blooms late in the season and is deer and drought resistant..jpg) Chrysanthemums: Commonly called “mums”, these richly hued plants are true sign of fall. When buying mums, look for ones labeled “hardy mums” or “garden mums” for the best chance of having them thrive throughout the season. Plant them as soon as you buy them. Late August is not too early. Given the opportunity to develop a strong root system, they will last longer.
Chrysanthemums: Commonly called “mums”, these richly hued plants are true sign of fall. When buying mums, look for ones labeled “hardy mums” or “garden mums” for the best chance of having them thrive throughout the season. Plant them as soon as you buy them. Late August is not too early. Given the opportunity to develop a strong root system, they will last longer. .jpg) Helenium: Part of the daisy family, this cheery flower blooms in yellow, orange and red bringing a vibrant ambiance to your garden. These tough, easy-to-grow perennials bloom late in the season and last a long time.
Helenium: Part of the daisy family, this cheery flower blooms in yellow, orange and red bringing a vibrant ambiance to your garden. These tough, easy-to-grow perennials bloom late in the season and last a long time..jpg) Asters: Available in a variety of hues in shades of pink, purple, blue and white, these perennials bloom from mid to late fall. Loved by bees, butterflies and other pollinators, they provide a late feeding opportunity for them. Plant them as soon as they are available in early fall so that they can establish a strong root system.
Asters: Available in a variety of hues in shades of pink, purple, blue and white, these perennials bloom from mid to late fall. Loved by bees, butterflies and other pollinators, they provide a late feeding opportunity for them. Plant them as soon as they are available in early fall so that they can establish a strong root system..jpg) Pansies: One of the most popular cool weather annuals, pansies are favorites for fall flowerbeds. They are very hardy and can continue to bloom through winter and into spring, thereby adding lively color to your garden almost year ‘round! The ideal time to plant pansies in hardiness zone 8 is late October.
Pansies: One of the most popular cool weather annuals, pansies are favorites for fall flowerbeds. They are very hardy and can continue to bloom through winter and into spring, thereby adding lively color to your garden almost year ‘round! The ideal time to plant pansies in hardiness zone 8 is late October.


.png)